*DOMANDE !* 😯 w/ Alice Muzza e Lisa Luchetta YouTube
Lisa è amata soprattutto dai suoi coetanei che ne seguono la vita online. Scopriamo di più sulla vita privata e sulla carriera di Lisa Luchetta. Foto credit account Instagram @lisaluchetta

Lisa è amata soprattutto dai suoi coetanei che ne seguono la vita online. Scopriamo di più sulla vita privata e sulla carriera di Lisa Luchetta. Foto credit account Instagram @lisaluchetta

Decathlon Casal Del Marmo. 678 Recensioni. 95 Commenti. Negozio di articoli sportivi. Via Arola 55 00166 Roma RM Italia. Visualizza tutti i commenti. Descrizione Mappa Orario di apertura Recensioni Contatti

Gioca online gratis al gioco dello Scopone! Gioca ora a Scopone Più come se fossi al tavolo da gioco. Sfida multiplayer i tuoi amici e conoscine di nuovi partecipa ai

The Last of Us: Created by Neil Druckmann Craig Mazin. With Pedro Pascal Bella Ramsey Anna Torv Gabriel Luna. After a global pandemic destroys civilization a hardened survivor takes charge

Non dimenticare mai il ghiaccio nel calice prima di versare gli ingredienti per gustare Aperol Spritz alla temperatura perfetta. Usa 3 parti di Prosecco 2 parti di Aperol e 1

42 Chi scandalizza uno di questi piccoli che credono è meglio per lui che gli si metta una macina da asino al collo e venga gettato nel mare. 43 Se

Eventi oggi a Alessandria: le feste i concerti le mostre i musei gli spettacoli le sagre i mercatini le rassegne e tanto altro su Virgilio.. Comune di Alessandria - Alessandria
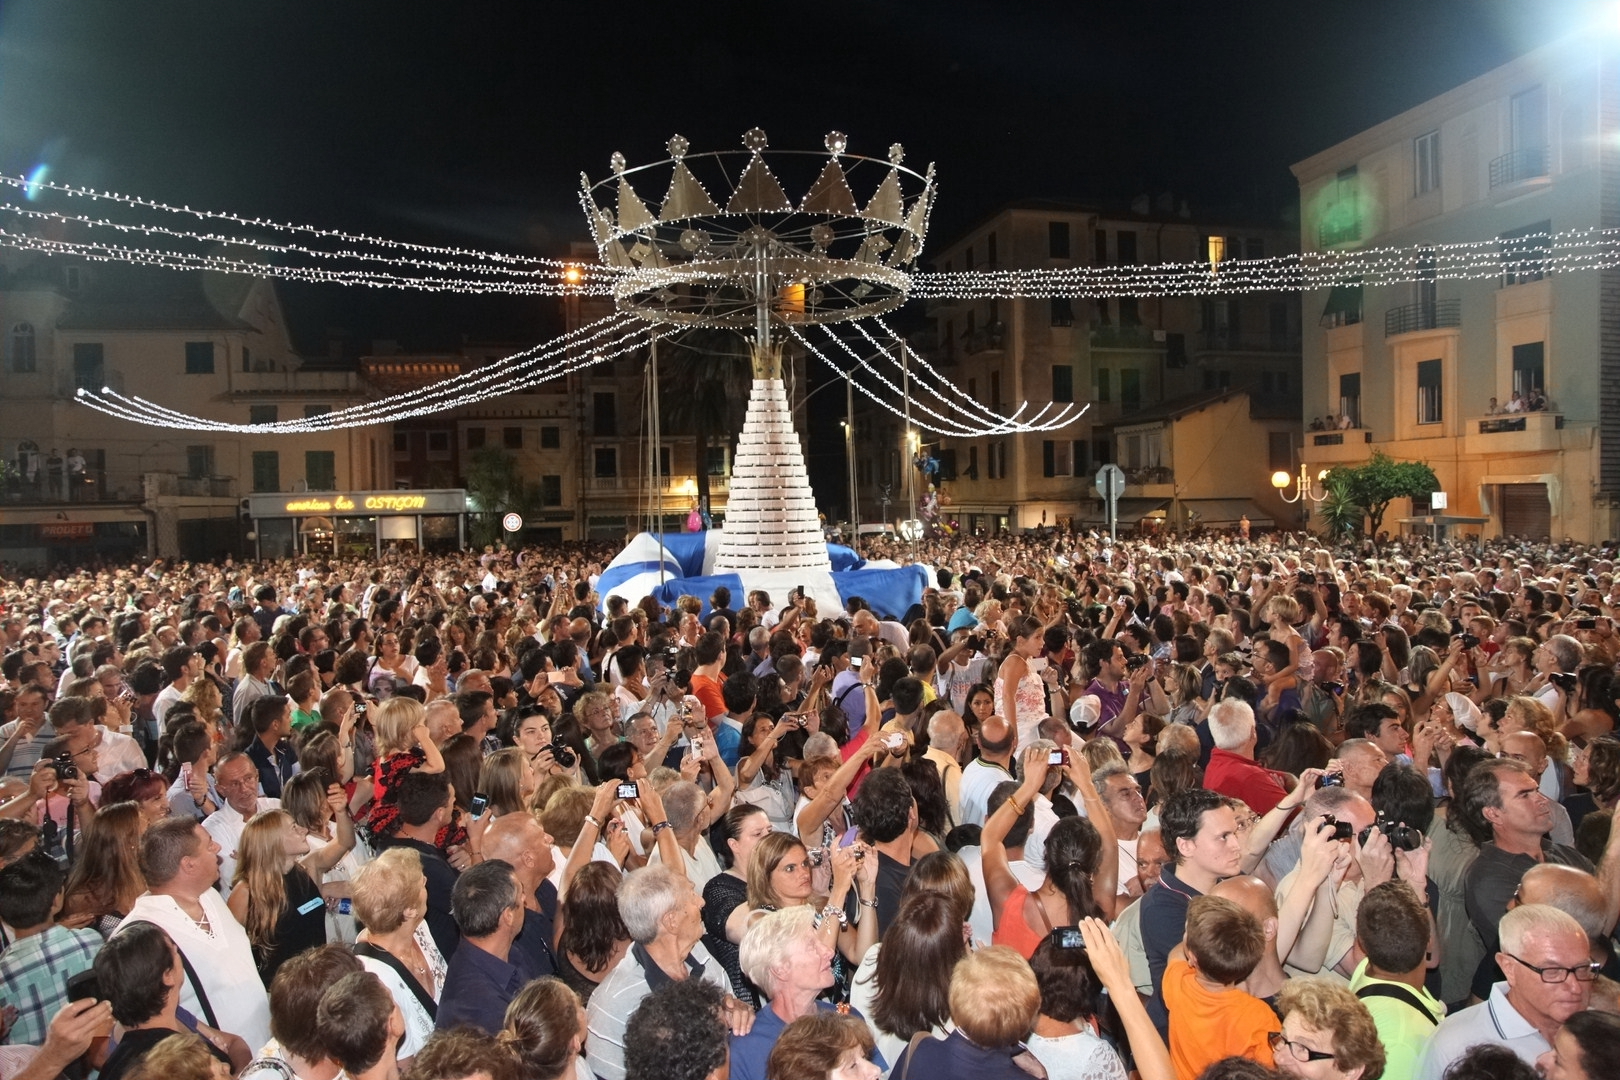
Lavagna: Torta dei Fieschi Elena Avanzi è Bianca ed Enrico Bonicelli è Opizzo. Oggi conosceremo i nomi di Pizzo e Bianca del 2023. La Torta dei Fieschi è l'evento per
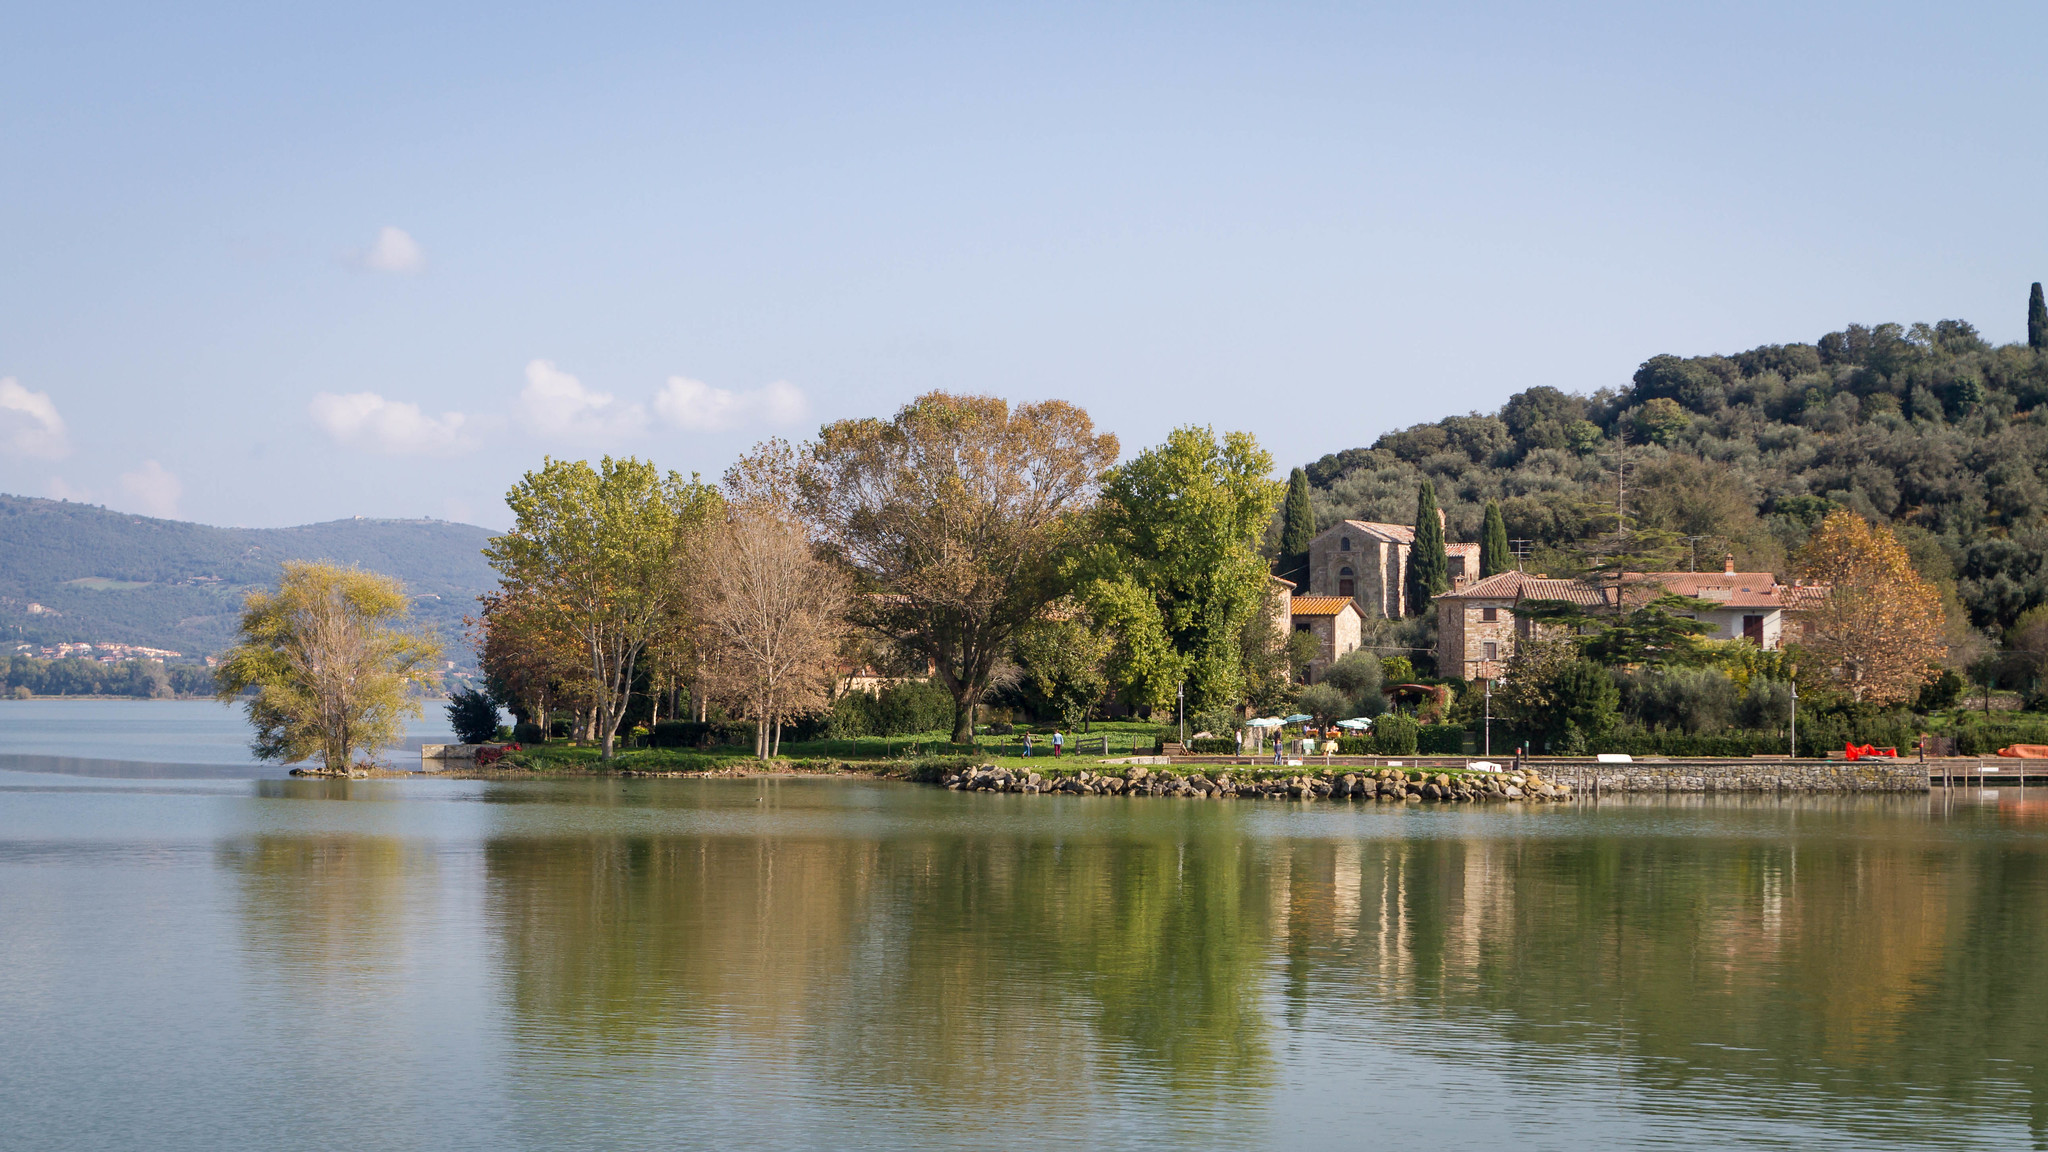
Italy Europe. Lago Trasimeno. The only of Lago Trasimeno's islands with a permanent albeit tiny population Isola Maggiore was reputedly a favourite with St Francis who spent time here in